Wednesday 27 January 2010

10 Minute Film School/Bedhead

Robert Rodríguez en Madrid_1


Today in class we were shown two very interesting videos by the critically acclaimed director Robert Rodriguez .

 
Here are some of the films which he has directed

 
The First film we watched was called Bedhead and it was one of his earliest pieces of work and it was made whilst he was a student at university. For the film itself Rodriguez cast his younger brother and sister for the roles of the main characters and used his family and friends were part of the film crew.

 
The plot was centred around a young girl who seeks revenge on her older brother, after he defaces one of her dolls.

 
The film itself won many awards for its clever and artistic editorial techniques and depictions of moving image on camera


The reason why we watched this was to give us an insight into how short films were made, it also gave me a chance to analyze the style of filming.

From watching the film I noticed that it used.


  • Zooming shots to emphasize a particular emotion of a character


  • Panning Shots to signal when tension was building up between the two characters

 
  • A Voiceover to tell the story rather than having spoken dialouge between the characters

  • Stop Motion When aggression was being displayed in some of the scenes


10 Minute Film School


After Watching Bedhead we watched an instructional video which was made by Robert Rodriguez called the 10 Minute Film School. The video was made by Rodriguez to show all the budding film makers out there how to make a film without spending too much of a big budget, Rodriguez himself stated anyone can learn everything you needed to know about the fundamental basics of making a film in 10 minutes.

Here are some of the things he talks about in his video


  • Intercutting sequences with motion

  • Using Props

  • Using actors as part of the film crew

  • The use of zooming when appropriate

  • How to make editorial decisions when filming

  • How to get five shots in one take

  • he use of syncing dialogue to the film separately

I found the film itself really helpfull. Especially since we are going to be filming our own short peices of films soon and by watching this I learned a few filming techniques that will help me in the future.


To view part one of the 10 minute film school click here
To view part two click here


After doing some research, I found that another instructional video was made by Rodriguez called the 10 minute flick school. The video talks about how to make special effects when filming with a low budget. here is the video.


Thursday 21 January 2010

Compression

Today in Sound and Vision we learned about compression and its advantages/disadvantages.

digital compression

We learned here are some of the things which were covered in the lesson .

  • Gamma Settings (which are colour settings) Computers use 2.0 and Macs use 1.8 (Although these setteings can be adjusted to whichever maching your working on) .

  • The uses of field stripping

  • European Televisions operate in DV PAL which is 25 FPS 

  • US Televisions operate in NTSC which is 29FPS

  • Television Footage needs to be Interlaced 

  • VDU Footage needs to be Deinterlaced  

  • When working with DVDs there are regions Europe uses Region 2 and US uses Region 1

  • The most compatible blank discs are DVD-R format discs 

Interlation is vital if your viewing a VDU with interlaced footage then you will not get the best quality picture if dinterlaced footage is being played on a Television the same will apply. The picture quality will appear jumpy during scenes with motion.

The picture below shows two images from a television. One has been deinterlaced and one has not notice that one image is more visible and one image is slightly blured.

inter

Sunday 17 January 2010

Celtex 2.7 Excersize

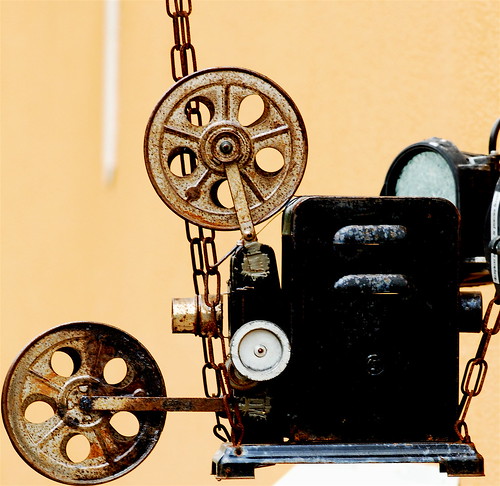
Film Projector


In Class today we took part in a pre-productive excersise, using the new Celtex 2.7 software. We downloaded a shotlist from Minerva for a small film titled "Wrong Day". We were asked to create a storyboard using the software.


The new version of celtex has a feature, which allows you to sketch your scenes, when using the storyboarding feature, which wasn't included in the original version of the software. Below is my sketch of the opening scene using the brand new sketch feature in the program

storyboard


The new feature also allows you to add images to the storyboard feature. Below is one of the images that I have added to my storyboard.


CEL PIC


After my storyboard was completed. I used the play option to my play my whole sequence back with my uploaded photos.

feature